| Author | Message | ||
| mica
Moderator Username: mica Post Number: 3676 Registered: 6-2000 |
On the earliest Alembics, only the battery cover plate had threaded inserts. Some people want to install inserts in other areas on these instruments, and also "Alembicize" other instruments in their arsenal. Carefully read and understand all the nstructions before starting any work. For truss rod covers and backplates, the inserts are very small 2-56 size. You will need to first make an installation tool from a screw and a spare insert. Thread the insert with the slots oriented as shown in this picture, leaving about 4 threads exposed below the insert: 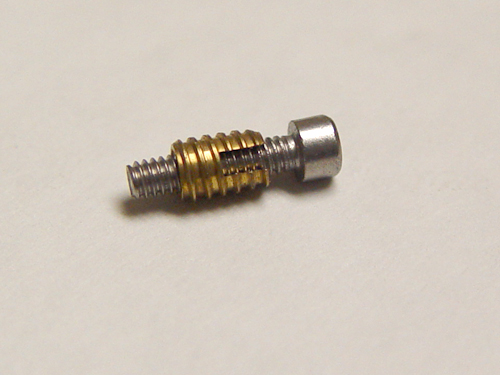 Load this assembly on the appropriate allen key for your screw: 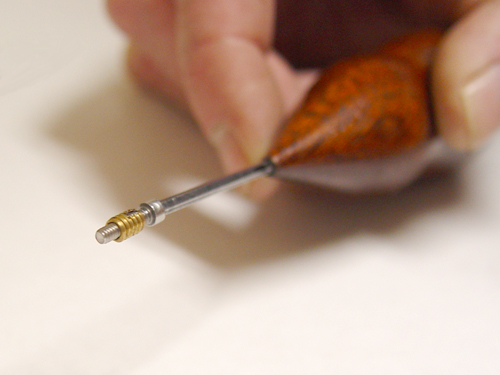 And place one drop of superglue to hold it in place: 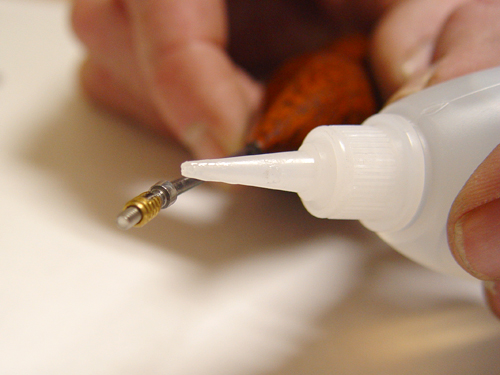 Make sure you keep the glue off of the exposed threads or you won't be able to load the insert for installing on it. Wait at least an hour to make sure the glue has hardened before using the tool. | ||
| mica
Moderator Username: mica Post Number: 3677 Registered: 6-2000 |
Now that your insertion tool is prepared, you can start installing the inserts on your instrument. Here's a Further guitar without any holes for mounting the truss rod cover: 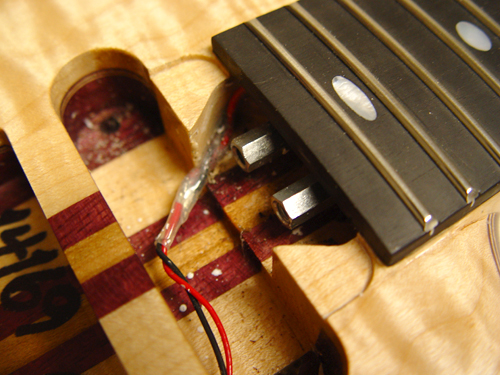 With the plate in place, drill the 3/32" pilot holes: 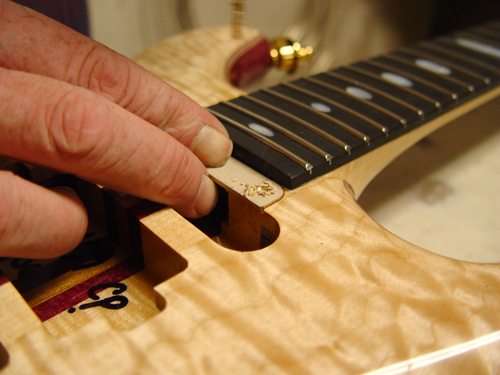 Remove the plate: 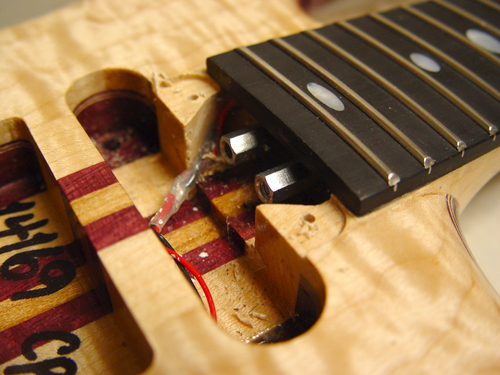 Drill to 1/8" finished hole size:  Load threaded insert on tool. Notice the orienation of the "slots" - they are the entry end of of insert (and opposite of the way you made the tool): 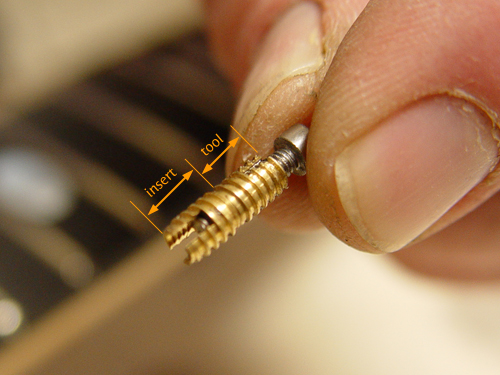 Use the allen key on your tool to install the insert.  It's okay if you install them a little deep - the screws will still reach them, but it looks nicest when they are near flush: 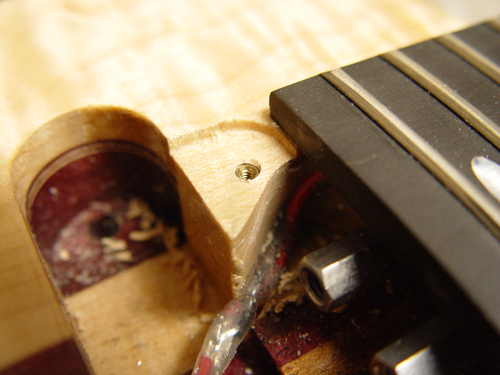 Some notes: do not use any glue on the installed insert unless the hole is too large. Even then you must be extremely careful because if you get glue on the interior threads, your machine screws won't be able to enter the insert. When you are making the insertion tool, allow the glue to dry for a good hour before using. Even though it looks like you could use a screwdriver to install the insert, it was not designed for this method. The tabs on either side of the slot cannot withstand the force of insertion.  It's also not a terrible idea to practice on a scrap of wood before taking this to your precious instrument. | ||
| mica
Moderator Username: mica Post Number: 3680 Registered: 6-2000 |
For the regular 4-hole pickup mounting screws, we use a 6-32 insert, a 1/8" pilot hole and a 3/16 final hole size. For 2-hole guitar pickups, we use a 4-40 insert, a 1/8" pilot hole and a 3/16 final hole size. For best alignment on pickups, drill right through the holes in the pickups for the pilot holes as illustrated for the truss rod cover. |