| Author | Message | ||
| tncaveman
Advanced Member Username: tncaveman Post Number: 266 Registered: 2-2011 |
Well I've been playing my fretless Elan almost continuously since deciding not to sell her. The set up was pretty good when I adopted her, but a tech friend of mine said that the nut needed to be lower. So how to cut down a chrome plated piece of brass! After looking at the nut, I decided, why cut it down, make a thinner shim that is between the wood and the nut? So the search began for materials. I found K&S Precision Metals brass strips that were 0.064 thick - the same size as the strip under the brass nut. So I ordered them from a hobby supply place (box of 8 and 12" long) The first attempt ended up with a shim that was about 0.050" and playability was better. But I wanted thinner. This second round I ground them down in a different manner with a belt sander. Problem here - uneven. But one section that was long enough was right at 0.035" I trimmed it to fit and drilled the hole and it is prefect. This really changed the playability. Almost effortless. I could possibly go a little lower - 0.030 or 0.25 inches. I just need a better way to sand / grind the strip thinner. Or find some thinner strips (probably easier). Stephen | ||
| gtrguy
Senior Member Username: gtrguy Post Number: 843 Registered: 9-2004 |
Yeah, mounted belt sander and also fine sanding with Dremel tool sander; small drum can do the job. Brass is great to work with. | ||
| lbpesq
Senior Member Username: lbpesq Post Number: 5955 Registered: 7-2004 |
I assume this is an early Elan if it doesn't have the adjustable nut? You might want to replace the old non-adjustable nut with the now standard Alembic adjustable nut. Bill, tgo | ||
| pauldo
Senior Member Username: pauldo Post Number: 1419 Registered: 6-2006 |
Stephen, Now I am curious . . . if you have feeler gauges: What is your final clearance from the bottom of the strings to the fingerboard at the first 'fret' position? Thanks Paul | ||
| adriaan
Moderator Username: adriaan Post Number: 3213 Registered: 6-2002 |
After I had my Epic defretted, the base plate was simply left out, at first. Not ideal, but it worked - though it may have gauged the wood under the nut a little. In the end, I had a luthier take a file to the underside of the nut, so it could sit on the base plate again. It wouldn't have worked as easily with a plated nut, obviously - but the nut sure was shiny for a while. | ||
| tncaveman
Advanced Member Username: tncaveman Post Number: 267 Registered: 2-2011 |
Hey Bill - it has the adjustable nut. This is just making a thinner shim below it. Quite amazing. Paul - I'll check it later tonight. Just got home and time for food. Stephen | ||
| tncaveman
Advanced Member Username: tncaveman Post Number: 268 Registered: 2-2011 |
I've never used feeler gages for something like this. It is less than 0.011 inch. At this point it was hard to feel. And I didn't want to scratch anything. A credit card definitely won't fit. It's pretty cool with action like this. Stephen | ||
| gtrguy
Senior Member Username: gtrguy Post Number: 844 Registered: 9-2004 |
BTW, another way to do it is to buy a cheap set of feeler guages and trim one of them for the shim. It gets you a precise size and you can try more than one size. | ||
| tncaveman
Advanced Member Username: tncaveman Post Number: 286 Registered: 2-2011 |
With the action lowered as much as I did, the fingerboard defects became apparent. My Elan is over 25 years old and had some grooving under the strings, especially those most frequently used spots: A string 3, 5, & 7th positions. Instead of a nice sound, it was a little more like a fart sound. Not good. I have a tech friend that does really good setups, and I checked on him sanding / resurfacing my fingerboard. But he is also a CPA and it's tax season. And he has a bunch of tech work stacked. So, he let me borrow his Stew-Mac 10-in. radius sanding beam. This is a really cool tool but in a scary way. http://www.stewmac.com/Luthier_Tools/Tools_by_Job/Leveling/Aluminum_Radius-sanding_Beam.html So I took off two tuners, the nut, and pulled the neck pickup. I also relaxed the truss rods and checked for levelness - looked good. Then I taped some thin cardboard pieces to the body and peghead and started slowly going back and forth. It became quite evident the wear on the fingerboard. The worn places were untouched by the sanding for quite a while, but I was going slow. Finally they started to disappear. When it was all the same color, I was quite relieved. I then changed my technique and added a little subtle fall-away to the fingerboard near the body. This was done by adding a few pieces of blue tape to the fingerboard near the 12th fret and removing 1/2 of the sandpaper from the sanding beam. The paper used was a 240 grit. This was followed by progressively fine papers 400, 600, 800, 1000, & 1500. The board feels so smooth now. I also used a small block along the edges to knock off the now sharp edge. One interesting finding: the fingerboard used to have an inlay? Can't really figure out what it was - but I'll look again later. It was probably removed, filled, and the wood stained black to cover it up. The wood is slightly lighter after sanding. So, I put the pickup back in, removed the protective tape & cardboard, put the nut and tuners back on (with the 0.35 shim that I had previously made) and cleaned her up. The first notes sounded so cool! Even sounds all over the board. Most important of all - the D note on the A string. Perfect! And after all of this, I made some more shims. I actually have about 8 sizes now and am using the 0.025" one. I might try one a little lower, but she's ok for now. I also had to lower the bridge and adust the intonation a little. First time out, it was just our singer and her playing guitar. The last song was not practiced before playing this past Sunday. Perfect! It sounded so cool. The fretless is back. Ill post a few photos tonight if I remember. Stephen | ||
| tncaveman
Advanced Member Username: tncaveman Post Number: 287 Registered: 2-2011 |
Here's the photos. It plays like new. Really awesome to have a level fingerboard. 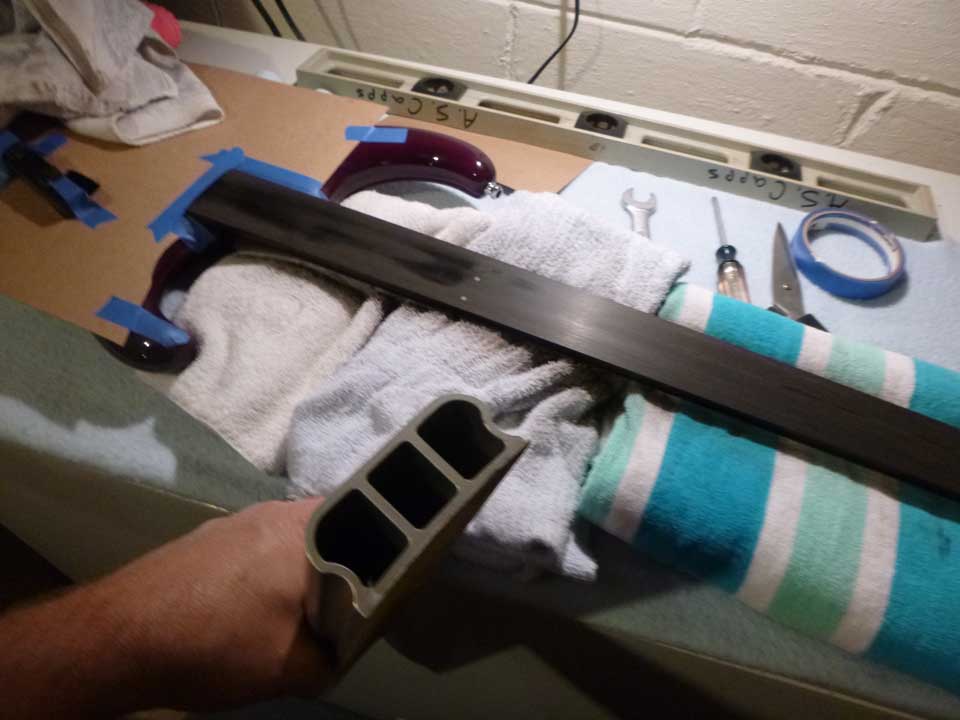 This shows the 10-in. radius beam. 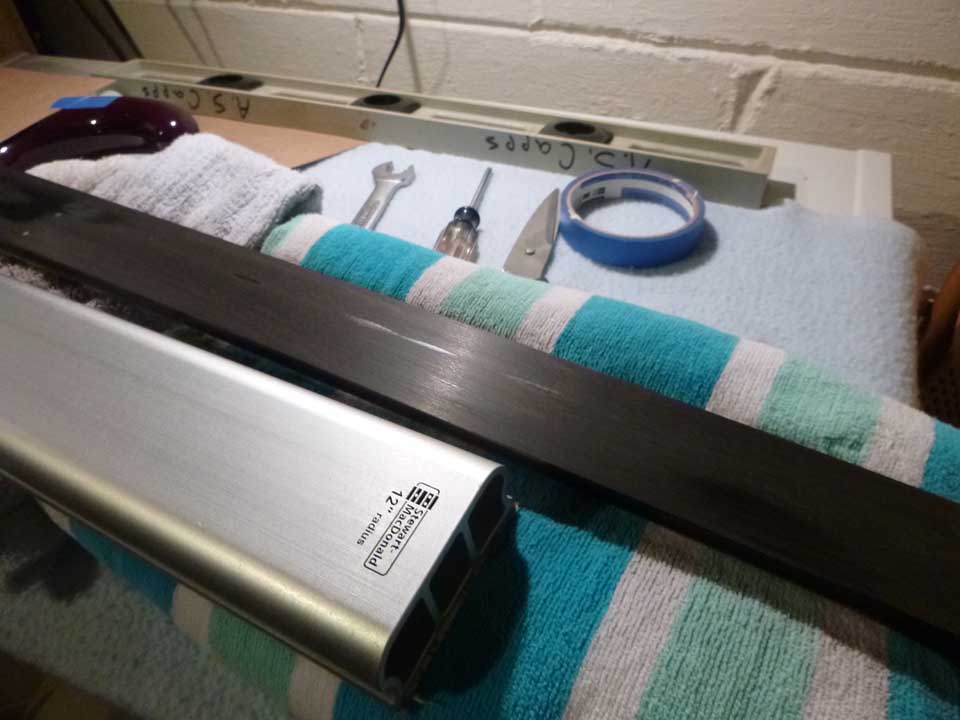 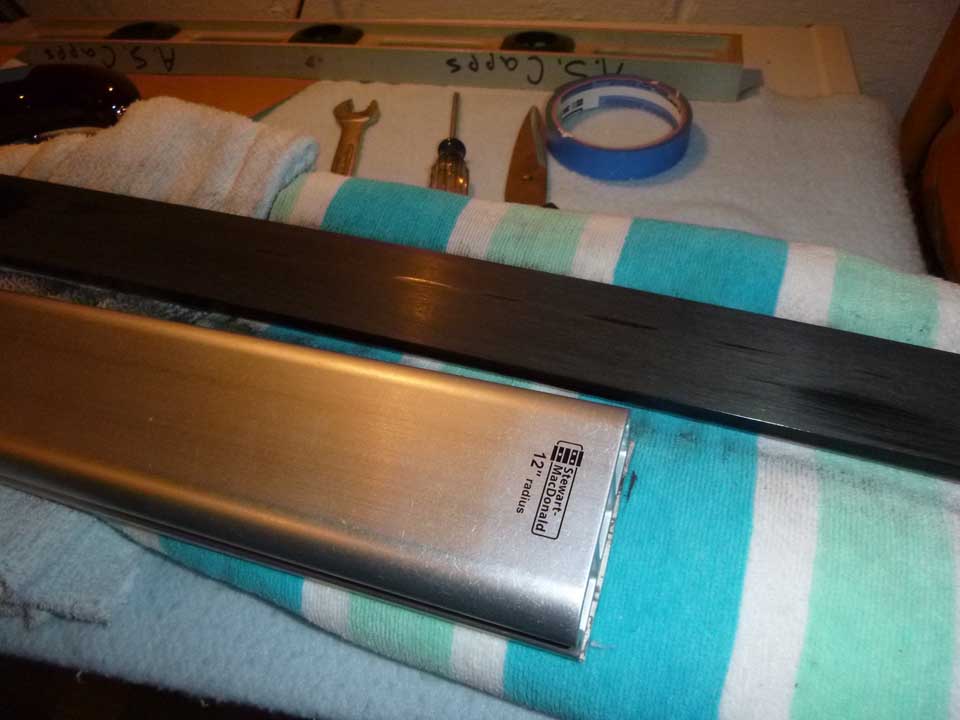 Almost done. You can see the groove in the wood along the A string. 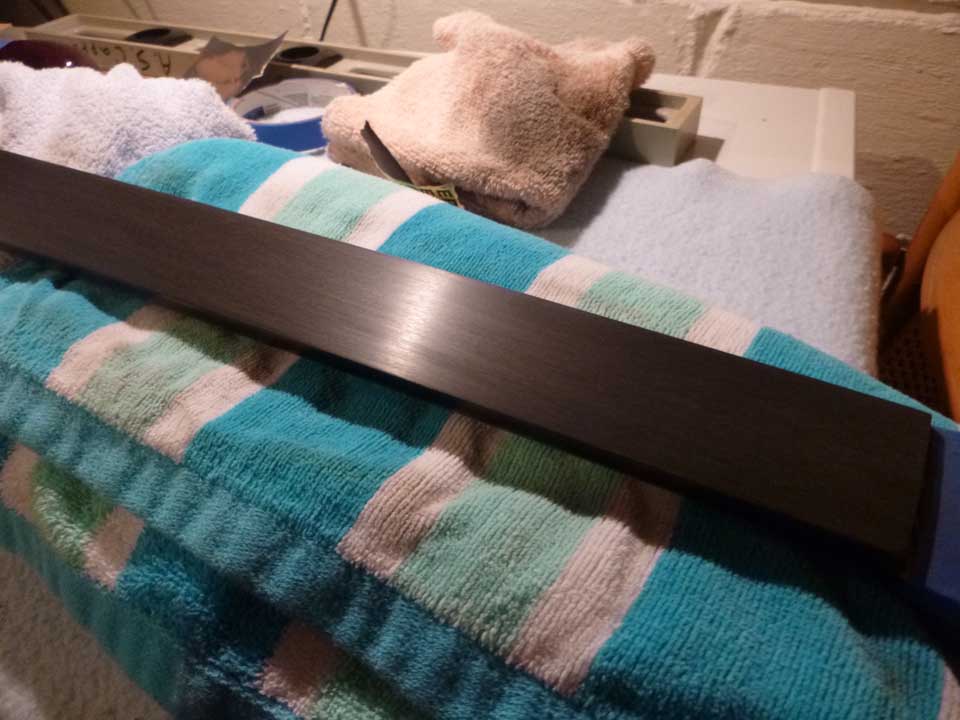 Done! 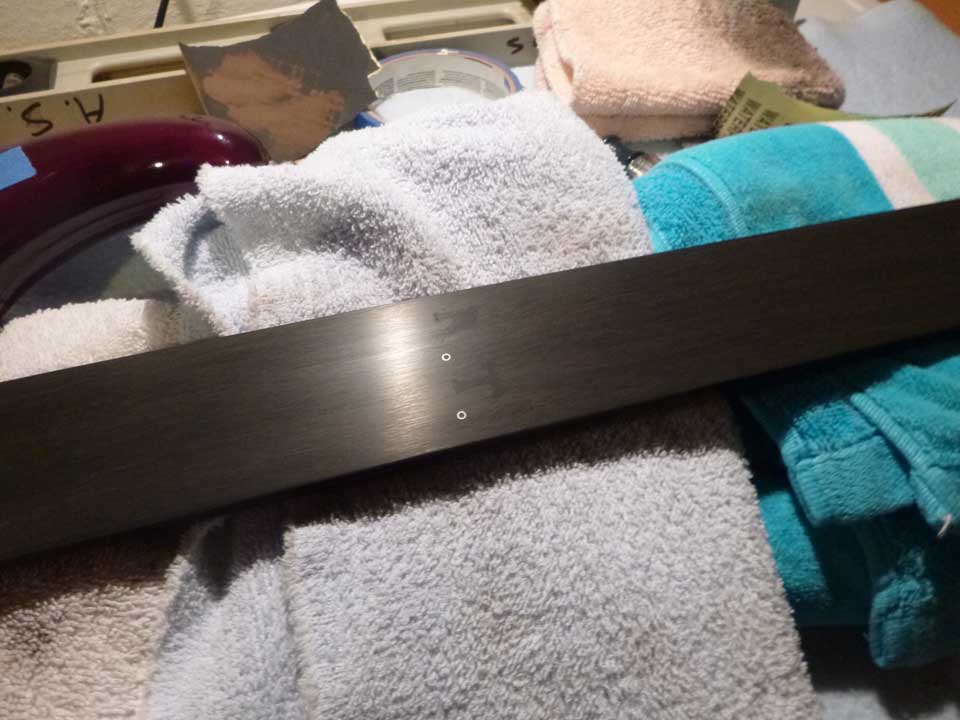 Anyone know who RT is? I assume that some kind of black dye or stain was applied to the fingerboard, because the inlay was not visible until I started sanding. It was very well hidden since I had oiled the wood several times. I would like to reapply the stain or dye to hide it again. Stephen | ||
| mnewman
Junior Username: mnewman Post Number: 38 Registered: 5-2002 |
RT are initials for Rusty Thompson. He worked for Midwest Music in Cincinnati Ohio and I think custom ordered this bass. They were a Alembic dealer for a long time. I remember seeing this bass at the store. He mentioned the hardware was triple plated chrome. | ||
| elwoodblue
Senior Member Username: elwoodblue Post Number: 1597 Registered: 6-2002 |
That's some good lovin' ...well done ! I noticed some extra 'mwah' in the action too, cool sounding but to the point of distraction. I never noticed the initials, what a trip ;) That neck looks nice !! | ||
| tncaveman
Advanced Member Username: tncaveman Post Number: 288 Registered: 2-2011 |
Like new - dyes / stains??? Before the sanding no indication of the initials. Stephen (Message edited by TNcaveman on April 19, 2015) | ||
| pauldo
Senior Member Username: pauldo Post Number: 1482 Registered: 6-2006 |
Super cool! Or should I say kewl? :-D | ||
| adriaan
Moderator Username: adriaan Post Number: 3233 Registered: 6-2002 |
Stephen, you say that the tool is for a 10" radius, however it says 12" in the picture. Hope all is well. (Message edited by adriaan on April 20, 2015) | ||
| tncaveman
Advanced Member Username: tncaveman Post Number: 291 Registered: 2-2011 |
Oops. Typo. I found some stain at Stew Mac that should do the trick. |