| Author | Message | ||
| tncaveman
Advanced Member Username: tncaveman Post Number: 252 Registered: 2-2011 |
This project was started by fate, I assume. Through the acquisition of a partscaster Tele, I started looking at and joined the TDPRI forum. My favorite of the forum is the threads about homemade guitars. Through these pages, I thought, �I can do that�. After all, I took woodshop in college and owned a table saw and router. The only problem was the other tools. Well, my next-door neighbor has a wood shop, as do a couple of other friends. I also had recently amassed a pile of wood. January 2013, an EF1 tornado went through my mother-in-law�s neighborhood. She lost 5 cherry trees, and I had the logs taken to a mill nearby. The intention was to make paneling for a future basement music room. Most was cut to 5/4 thickness. But luckily, some was cut to 6/4. My son and I began going through the pile, still air-drying with spacers in the backyard. We pulled a few good looking boards, and the wood was stacked in front of a natural gas stove in my basement for final air-drying. When I thought the boards were ready, we borrowed my neighbor�s planer. It�s a 13 inch Dewalt, just enough to plane the boards. After planning them, I glued them together to create two halves of the body. Yes � it had to be made of 4 pieces. During this time, I really wish I had cut some thicker boards. But now the problem, my neighbor was always going out of town or to busy to get in his shop to plane the sides for final gluing and planning. So, another friend let me use his shop. He has a huge jointer, at least 8 ft long and 8 inches wide. So in about one minute, I had both sides ready for gluing. A couple of weeks later, I used his 15-inch Powermatic planer, an awesome machine. And then I had a body blank. Mean while waiting to make the body blank, I made some templates out of MDF board. I patterned the body on a Fender Lead II that I have had since about 1983. One template was for the body itself and the other was for the neck pocket. I made mounting holes at the pickups that would allow for placement without movement. I also copied the single coil template to the MDF board. Because I wanted a tremolo, I got some templates and router bits from Stew Mac. I also got a 1-inch Bosch template bit for the body routing. The neck pocket was made using a Musikraft Telecaster neck that I lucked up on Craigslist. I had always liked Tele�s, especially the headstock. And I found a deal on a beauty - $200 and it was unused. It�s flame maple with a roasted birdseye fingerboard and 6105 frets. It was �finished� with the thin lacquer sealer. And for now, it�s going to be used with that finish. I polished it up a little with a white Scotch Brite pad and waxed it. And while everything else was slowly taking shape, I started procuring parts. I already had a Duncan JB Jr pickup for the bridge. It was from a trade a while back. So I decided to get a matching little humbucker � a Duncan Little �59. I wanted to keep it simple, so I went with Tele wiring with a mini-switch. As for tuners, I really like Gotoh�s. I found a good deal on their locking mini tuners that have adjustable post heights. Lastly, I started looking for a tremolo. I thought I would try something different. So, I got a Super Vee Blade Runner. This would be easier to mount, since it uses the 6-string mount � except that they only use 4 holes. Back to the body: the weather finally cleared to allow for routing in the driveway. So one Saturday, I headed out and started. The first step was to do the neck pocket. This was to make sure it was inline with the body center. I used blocks of wood clamped to the blank to make the sides and end of the neck pocket. I first predrilled holes to remove some wood so the router bit would not have to work as hard. Next was the rough cut with a 40-year-old jigsaw. Wow that took a long time. This was followed up with the 1-in. bit on my router following my template edges. Then it was following the previous route. This was followed with the � in. round over bit which smoothes over the edges of the body. This was the coolest part of the work. It is really starting to look like a guitar. Did I mention how nervous I was routing the chunk of wood that took so much effort to make? I had never done routing at this level, except for some lettering for signs for a mountain bike trail project. And they were with a sign template. It was so cool taking my �guitar� in the house and showing everyone. So far, only one slight oops on the neck was along a corner of the pocket, which was where I needed to make it tapered anyway. Next came the sand paper. I went over everything. The round over need some work to blend it in and around the neck section routes. Sure would be nice to have some powered drum sanders. Starting to really take shape now. The tremolo route came next. I used the Stew Mac directions for a 6-hole tremolo. This was the scariest part of the routing. Everything was good so far. One slip up or a template shift, and I have a nice scrap piece of wood! But, luckily, everything went well. But I did have to re-route to allow for room for the tremolo block to swing. The routes for the pickups and control cavity came last. I figured if I made it to this stage, it would be OK to route these last. And again, good planning won! The last step was to finish the body. Since I like minimalist finishes, I went with a Tru-Oil gun oil finish. I had done a Warmoth Tele neck with this one time � smooth as silk! The first two coats were awesome. The third started showing defects in my sanding. So, I spent an hour doing more sanding on the body. Well, this really paid off. The final results were awesome. The Tru-Oil worked perfectly. I think I did about 5 or 6 coats with light buffing with steel wool and Scotch pads. The last 2 coats didn�t seam to soak in very much, so I stopped. Final step, polishing and assembly, everything went pretty well with this final step. My friend Ray helped with the setup and the nut slots. She plays perfectly. The Super-Vee tremolo is amazing. The Duncan single-coil sized humbuckers are great. Super sweet clean and really good on medium distortion for blues. You have to push it a little for super sustaining distortion sounds. The cherry wood is apparently a great choice for clean and blues sounds. With its ease of acquisition, lack of scarcity, and being an American wood, it�s really a shame it�s overlooked. Cherry wood is not too heavy, stable, easy to work, and most of all � very attractive. The figuring on my body is really awesome, especially with the Tru-Oil finish. Fast-forward 6 months; I finally pulled my neck for a re-finish � or actually a final finish. The Musikraft neck came with what they call thin lacquer sealer. A lot of people just use their necks as is. However, it�s a little rough to the touch. Not really �rough�, but not smooth either. So, first I stripped the sealer. Per their Web site, it should be striped with denatured alcohol. I followed this up with 160, 220, 320, and 400 grit sand papers. Then, I applied 4 coats of Tru-Oil finish with light buffing between coats. I even did the fretboard. This was so easy with 2 coats per day. Then I did light rubbing with 0000 steel wool followed by the fine Scotch Brite pads (white). It�s pretty amazing seeing it get this awesome sheen to the finish. It feels really amazing. After the Tru-Oil cured, I polished the neck up with carnauba wax. Attached are some photos from the build. I hope this wasn�t too long. I really want to do another build, but the parts aren�t cheap, and I have plenty of guitars. I would love to retire and start building guitars. It was a cool experience. Stephen 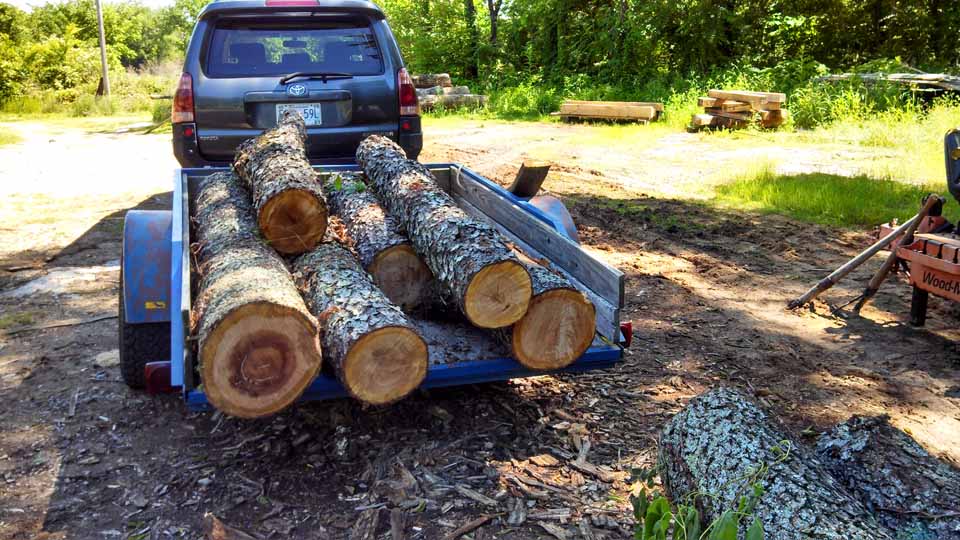 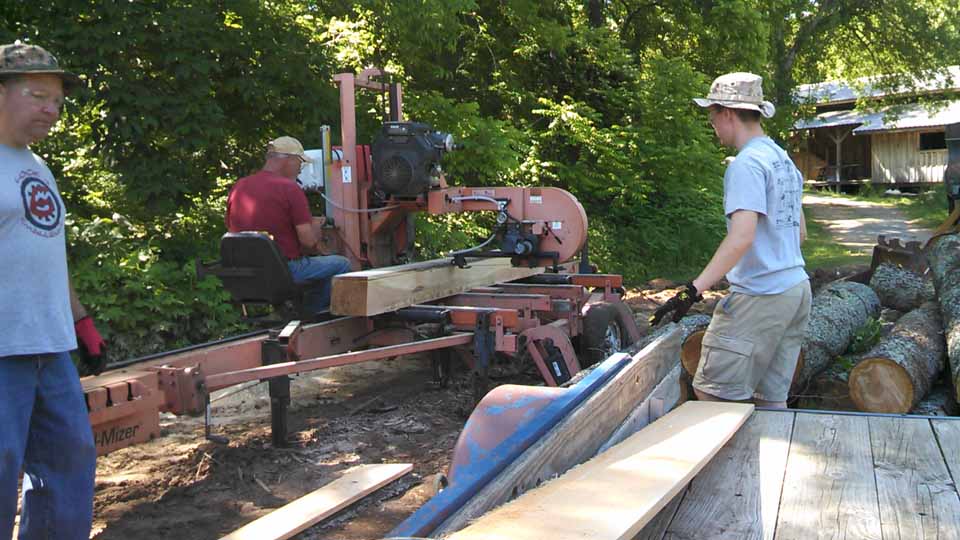 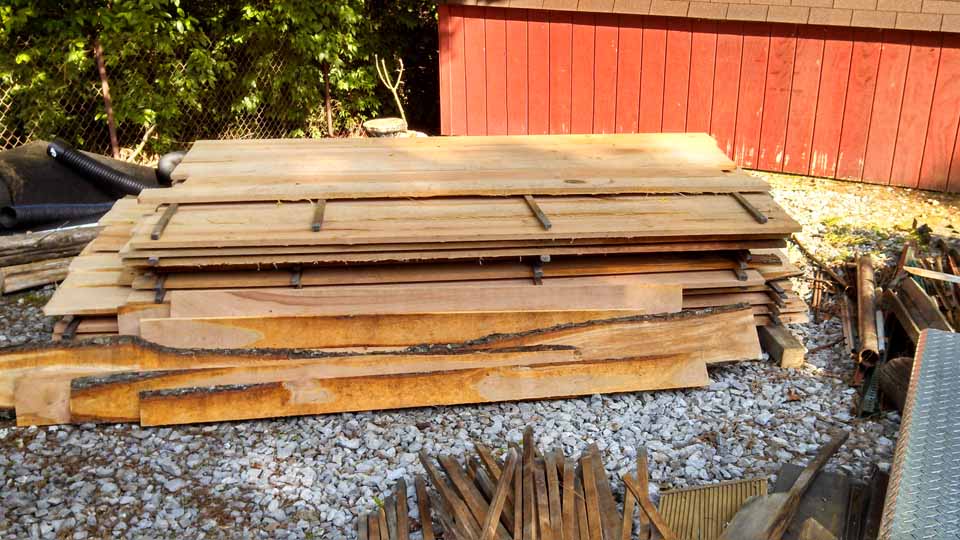 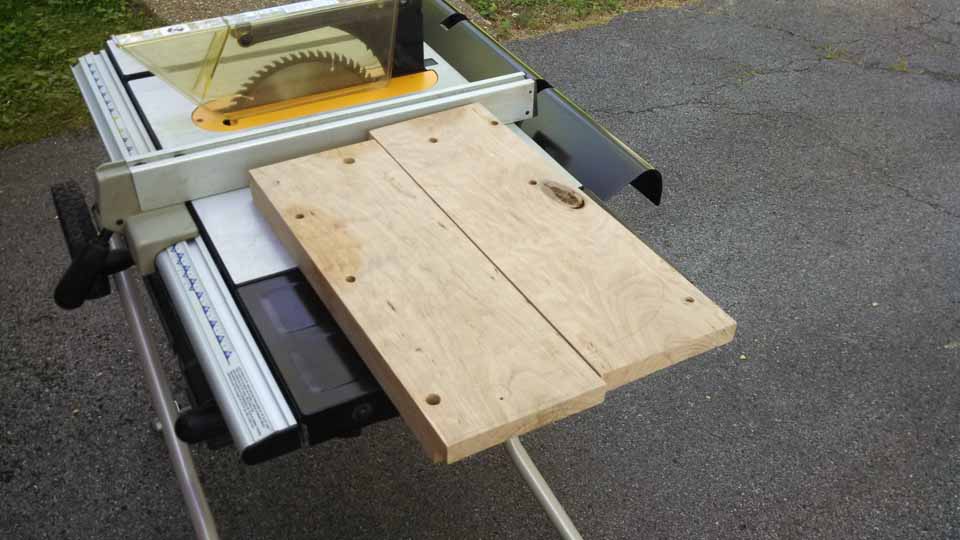 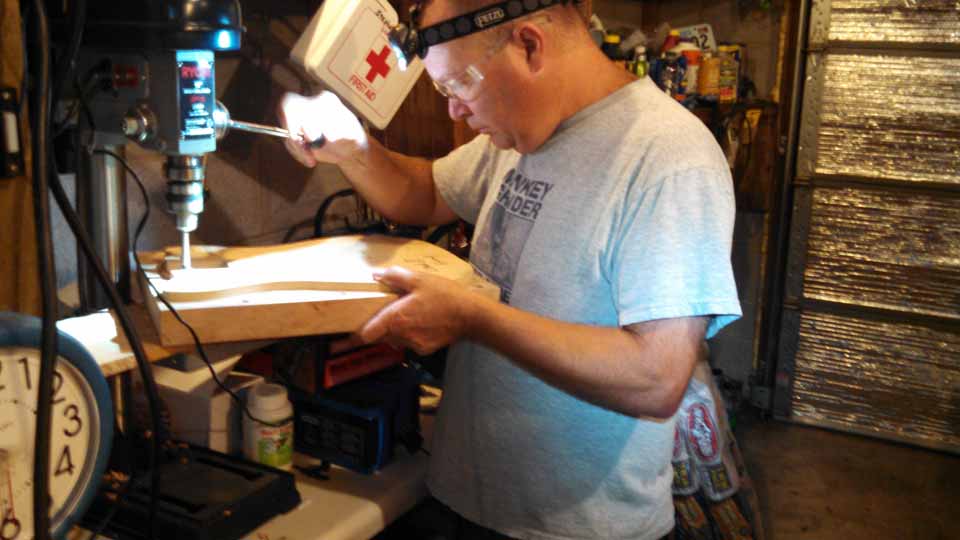  | ||
| tncaveman
Advanced Member Username: tncaveman Post Number: 253 Registered: 2-2011 |
more... | ||
| tncaveman
Advanced Member Username: tncaveman Post Number: 254 Registered: 2-2011 |
and a few more... 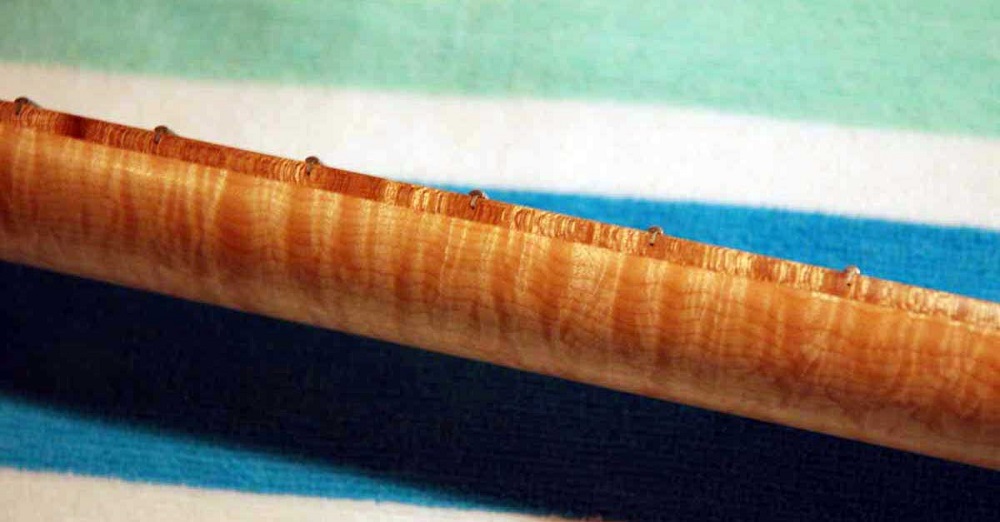 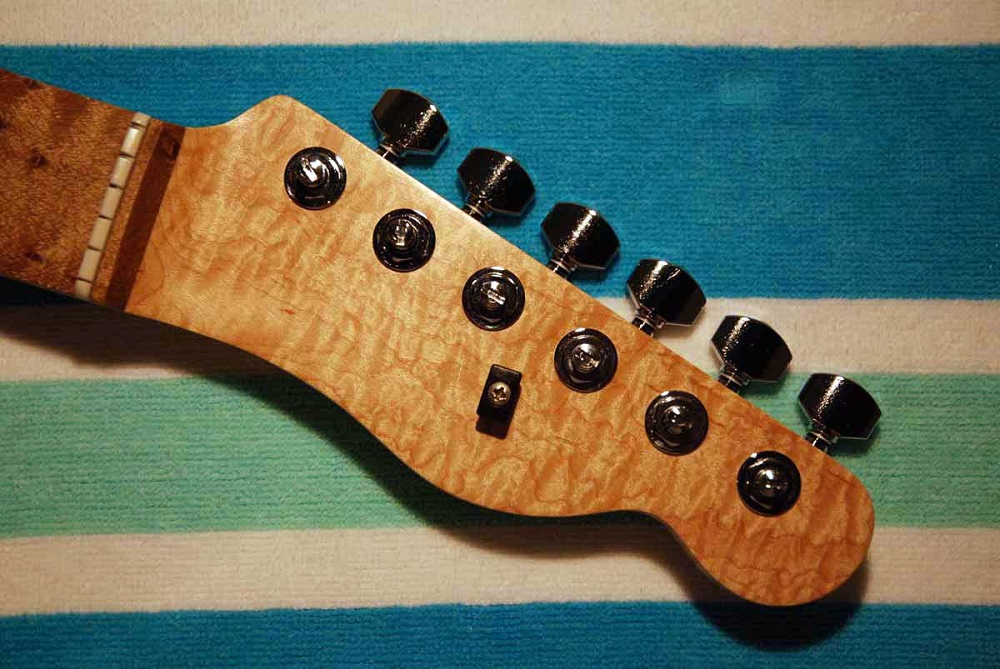 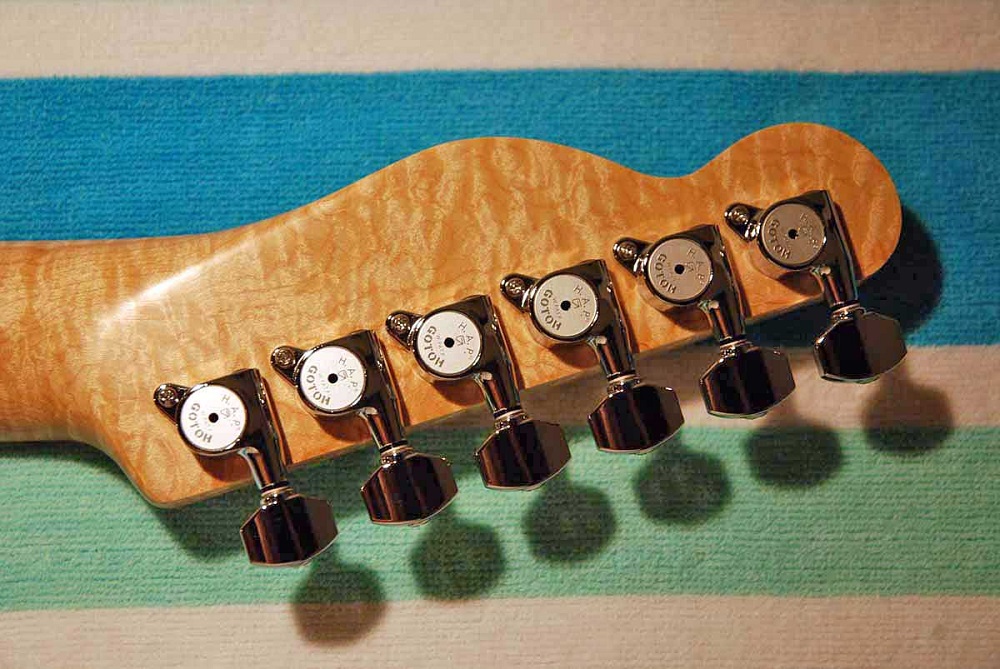 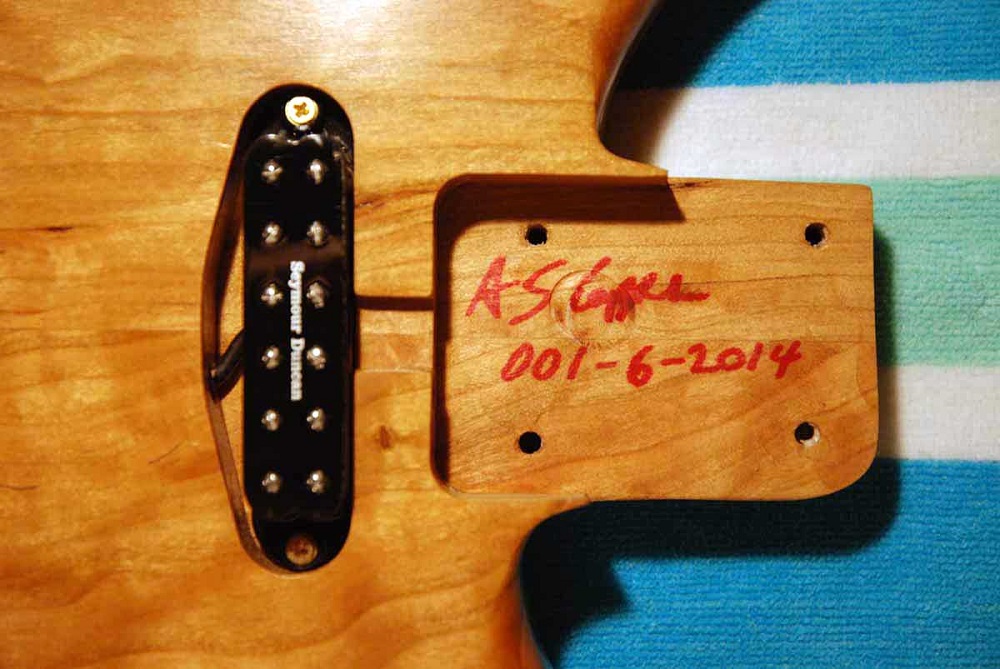 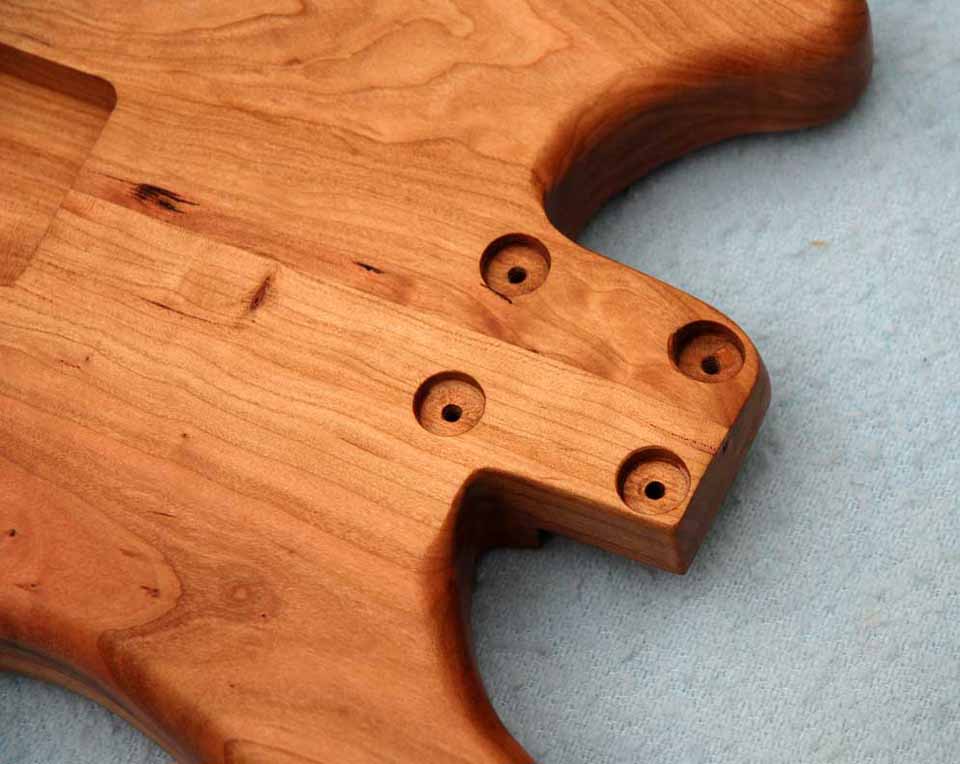 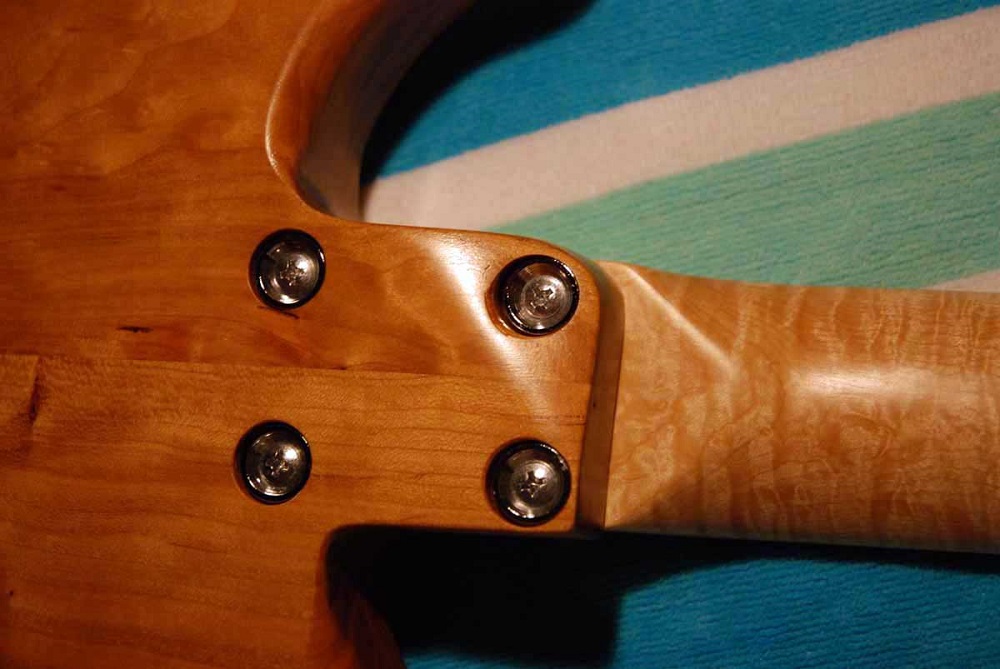 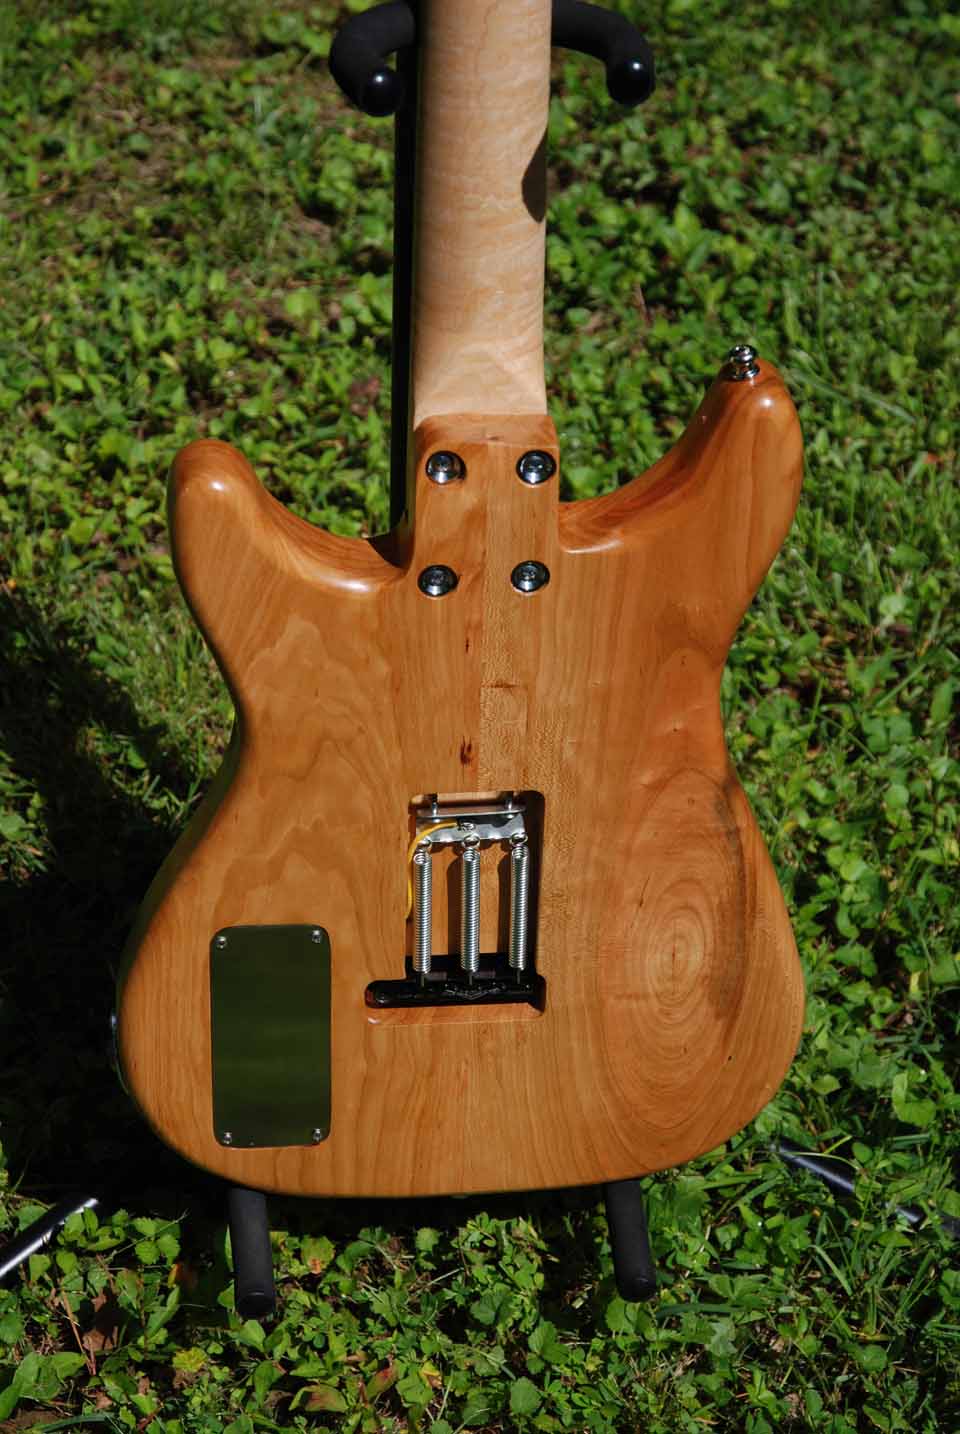 Sorry for such a long post. I hope you enjoyed looking as much as I did making it. Playing it is even better when you work for it! If you have ever thought of doing this - go for it! Stephen | ||
| tncaveman
Advanced Member Username: tncaveman Post Number: 255 Registered: 2-2011 |
I just realized, I don't have a good front shot. The ones I have are not representative of the color. I'll work on that tonight. Stephen | ||
| edwardofhuncote
Intermediate Member Username: edwardofhuncote Post Number: 160 Registered: 6-2014 |
That's outstanding work caveman! Cherry is a beautiful wood to work with, and is plentiful in high quality. And man, what would we do without Stew-Mac? I'll have to post some picture of my projects over the years. As a kid, I learned my way around a repair shop building banjos with my Dad back in the 80's... as of the year 2008, we had built 27 banjos, 3 guitars from scratch, and repaired or rebuilt countless instruments. Since then, I mostly repair upright basses in the shop, but we have a slew of unfinished projects waiting for attention. One of which is a cello-banjo... made entirely of locally grown and harvested wild cherry. | ||
| edwardofhuncote
Intermediate Member Username: edwardofhuncote Post Number: 161 Registered: 6-2014 |
ps - that maple neck is pretty sweet too. Nice job. | ||
| peoplechipper
Senior Member Username: peoplechipper Post Number: 522 Registered: 2-2009 |
Looks cool! funny, I just started on a half-made Ricky copy that a friend gave to me years ago...left in a closet and since my new year is to realize certain objectives(as opposed to resolutions) one was to reduce clutter and the bass was clutter ignored; finishing carving the neck and wondering what electronics to put in it...it could be a good backup to my Distillate but I don't know what would be the best electronics for that role...I am oscillating between a Bisonic/Ricky pickup deal or one pickup that is close to my boom stick... | ||
| wfmandmusic
Intermediate Member Username: wfmandmusic Post Number: 160 Registered: 1-2012 |
Really nice work! I like it. |