 |

 |
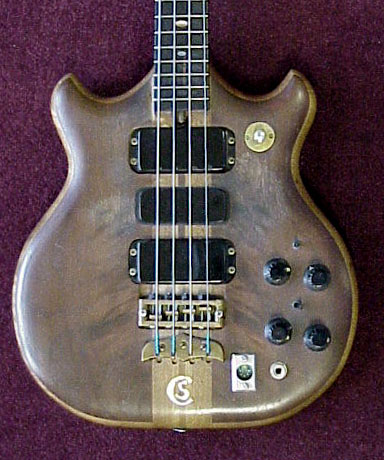
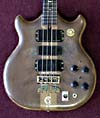
Watch as we build a Signature Deluxe version of Stanley Clarke's famed "Brown Bass"
Updated at least once per week.
Last updated 25 SEP 2001.
|
|
|
 |
|
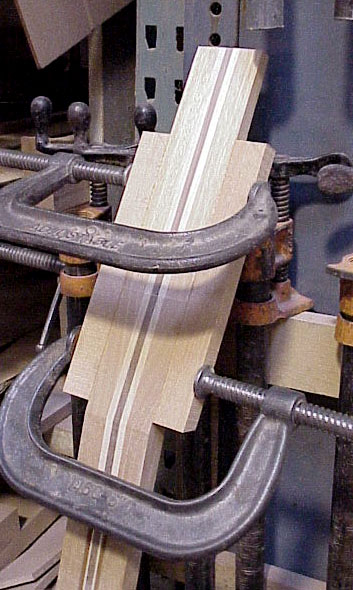
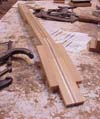
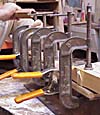
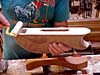
This 5-piece neck is made from Mahogany, Beech, with Walnut at the center. After glue-up, the neck gets the "ears" clamped in place.
17 AUG 2001
|
|
|
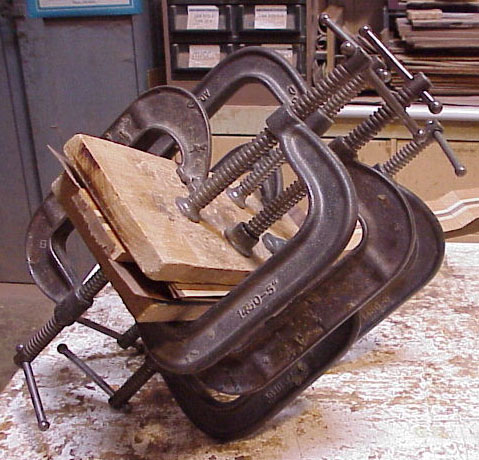
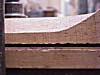
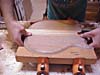
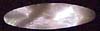
Clamps removed from peghead. After sanding, this will be ready for the front and back veneer glue-up.
17 AUG 2001
|
 |
|
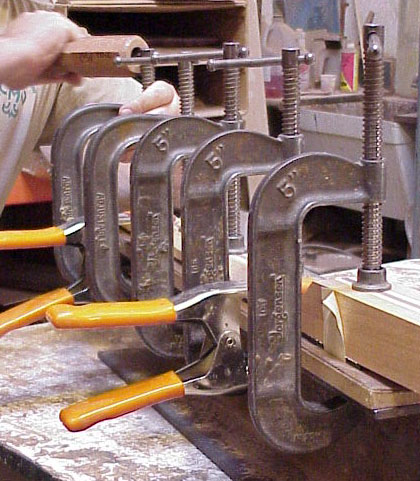
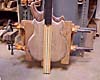
Front and back veneers in clamps. These are allowed to dry overnight.
25 AUG 2001
|
 |
|
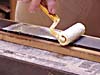
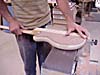
First pass of glue applied to fingerboard.
31 AUG 2001
|
 |
|
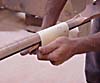
Once glue is spread on the neck side, it's on with the clamps!
31 AUG 2001
|
 |
|
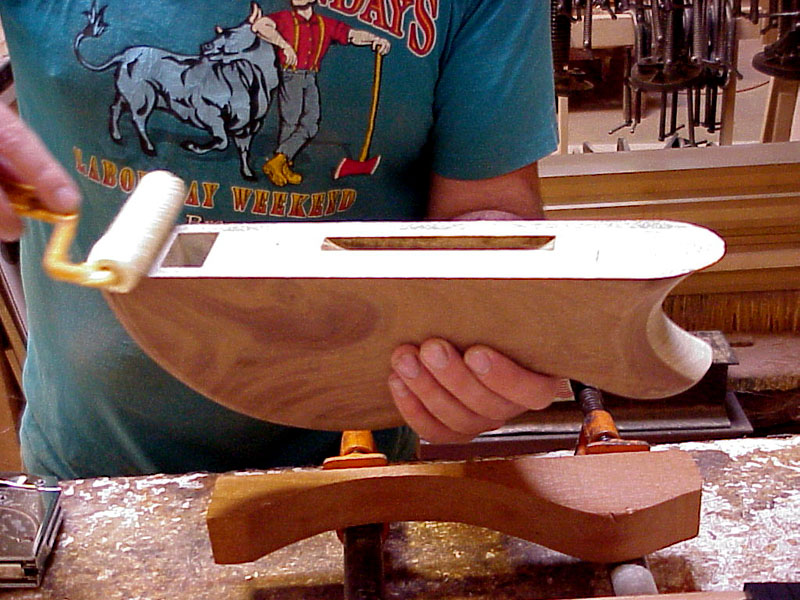
Just the right amount of glue.
31 AUG 2001
|
 |
|
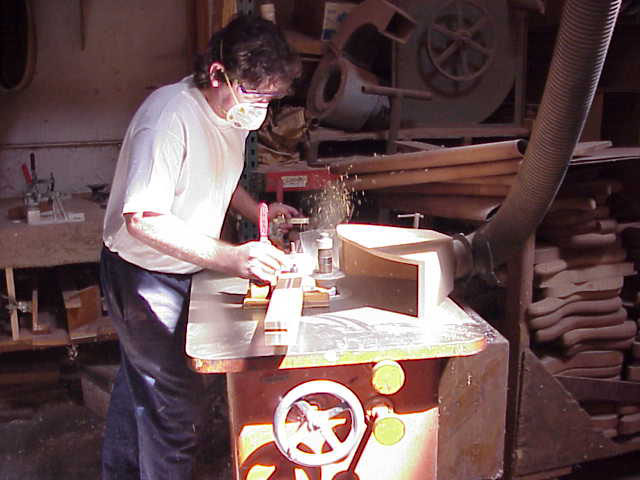
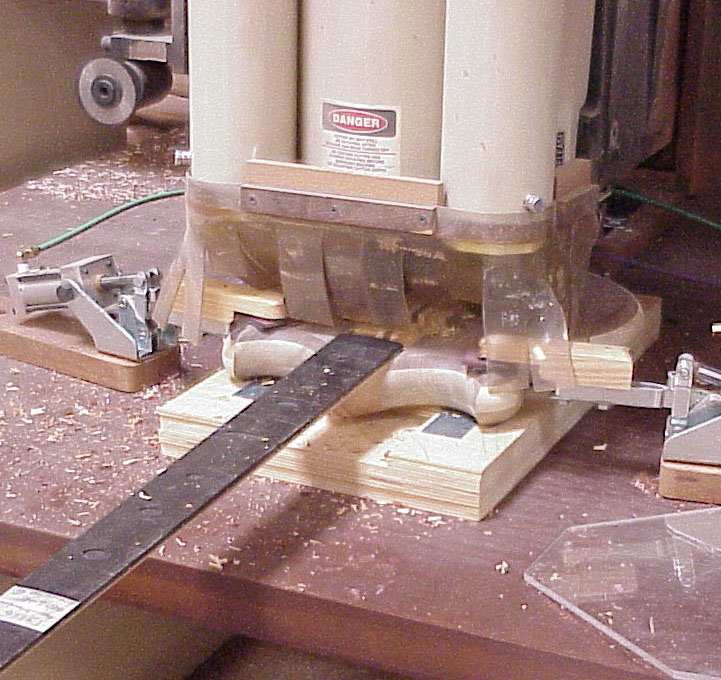
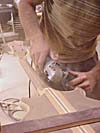
Kris uses a shaper to remove the bulk of the wood from the back of the neck.
06 SEP 2001
|
 |
|
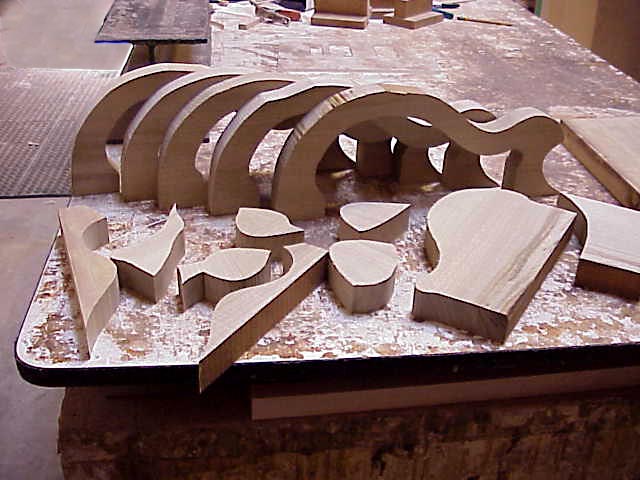
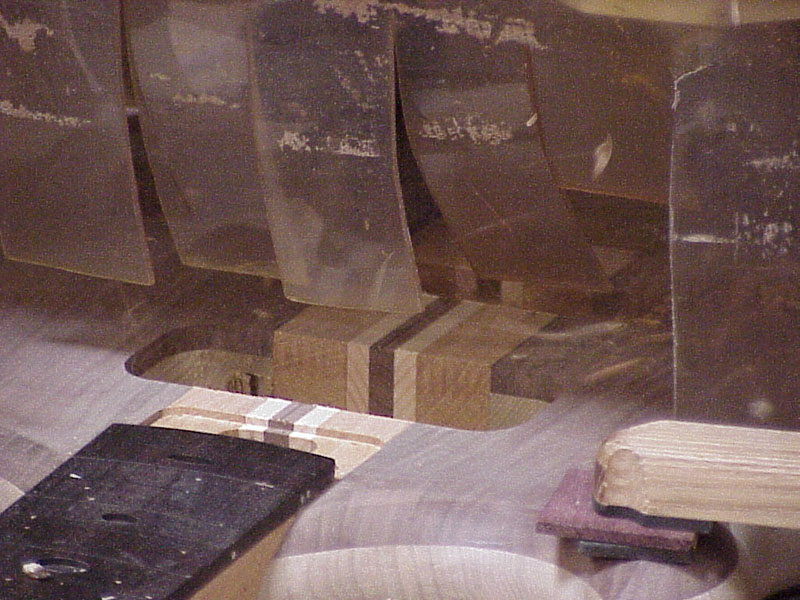
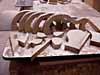
Cores cut from Myrtle. Great yield, and all scrap gets put to use.
06 SEP 2001
|
 |
|
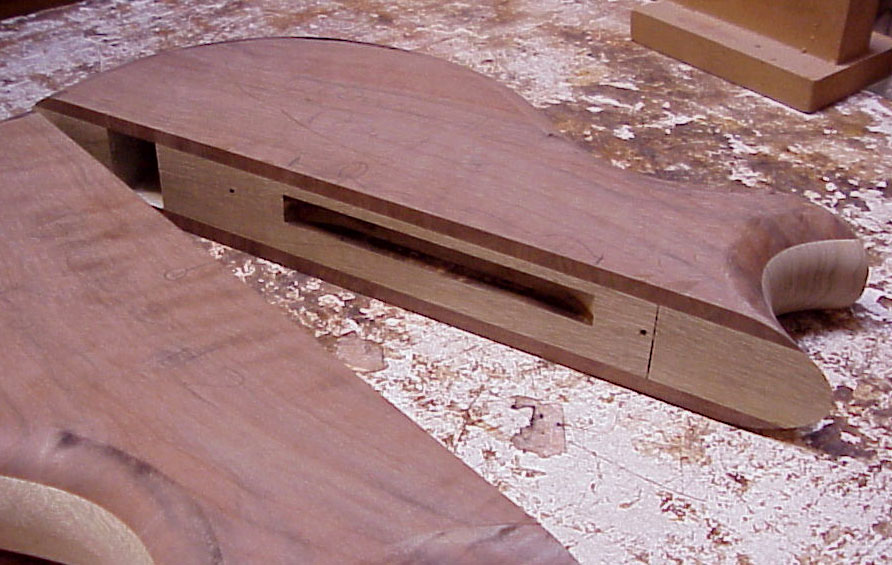
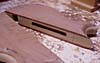
Pickup wires will eventually pass through this slot.
10 SEP 2001
|
 |
|
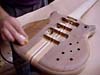
Body and neck, ready to glue.
10 SEP 2001
|
 |
|
First pass of glue on body half.
10 SEP 2001
|
 |
|
Lining up the body to the neck for clamping.
10 SEP 2001
|
 |
|
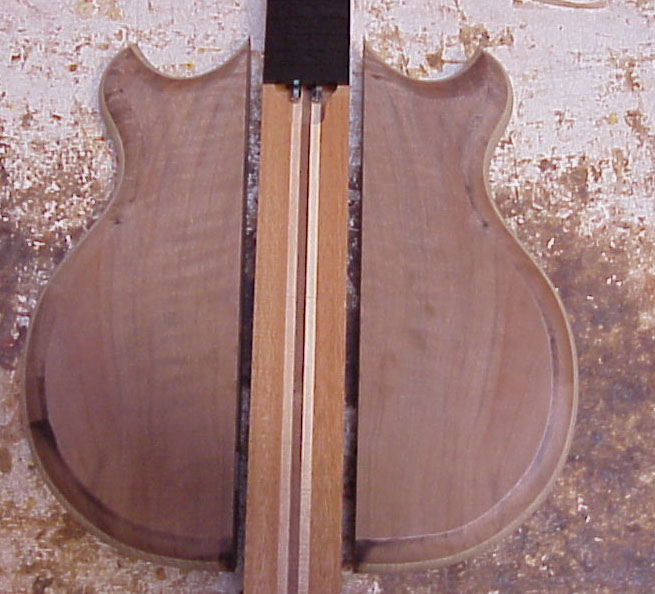
Body clamped to neck, now we just wait for the glue to dry.
10 SEP 2001
|
 |
|
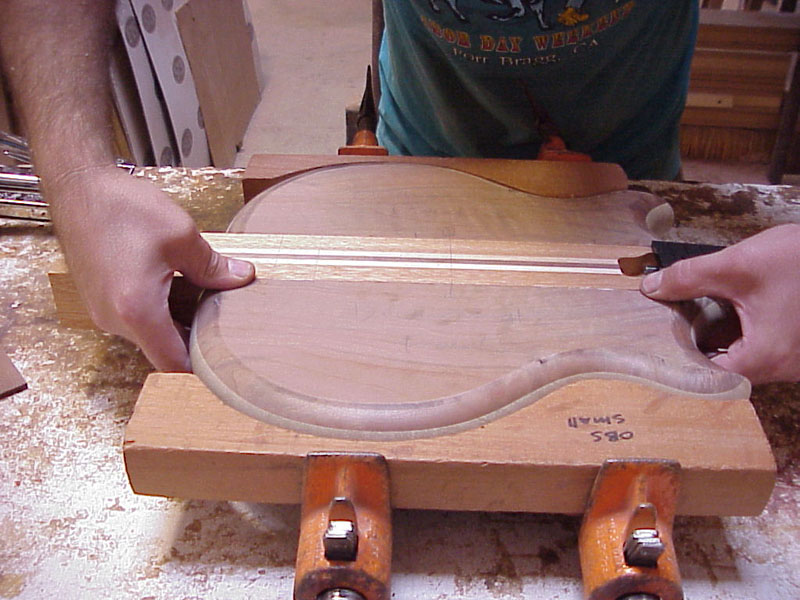
Mike sands the front of the bass.
11 SEP 2001
|
 |
|
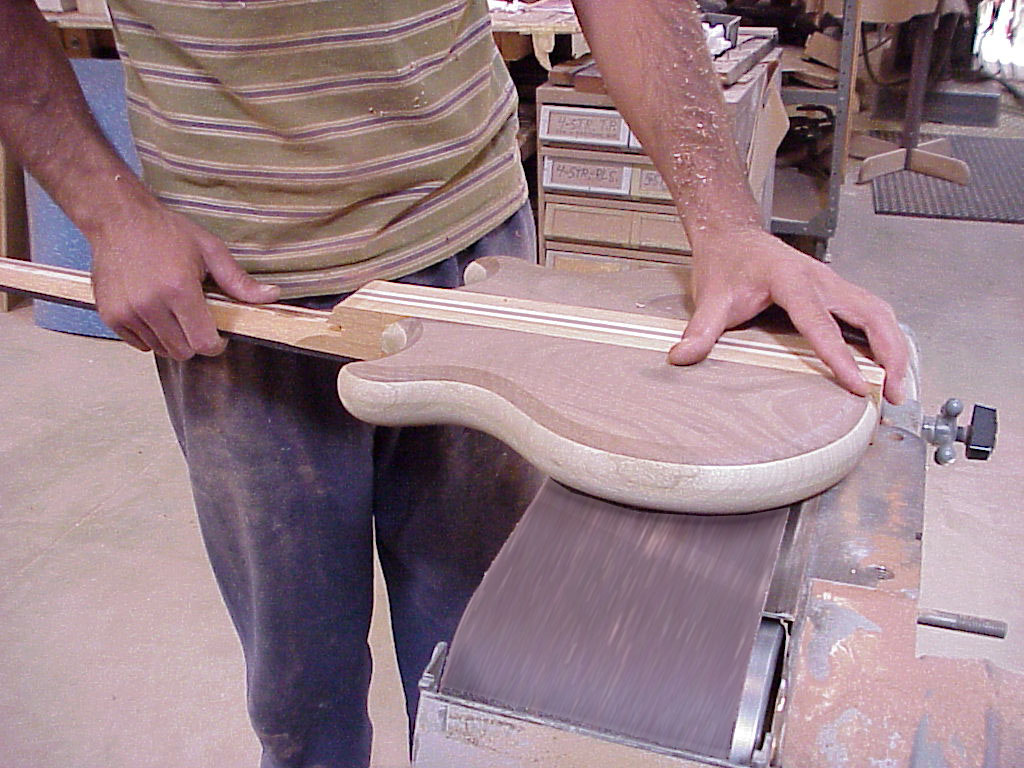
We call this sanding operation "the shoeshine."
11 SEP 2001
|
 |
|
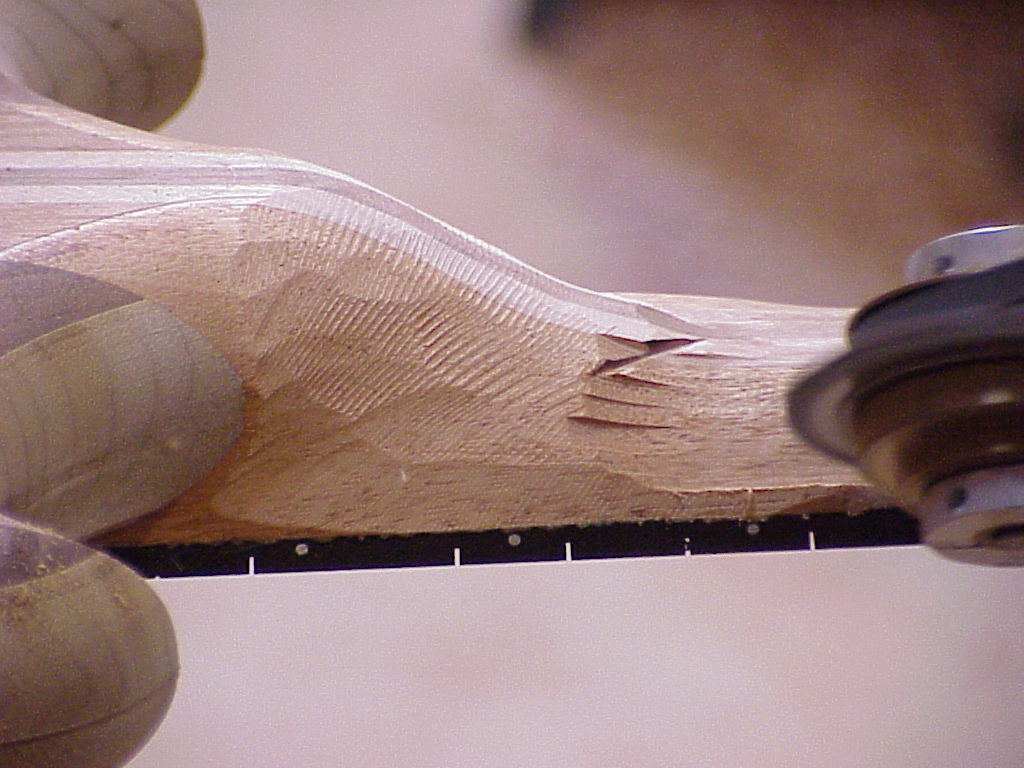
With the body clamped securely, it's time to bring out the big guns.
We use a grinder to get most of the excess meat off the back of the heel region.
11 SEP 2001
|
 |
|
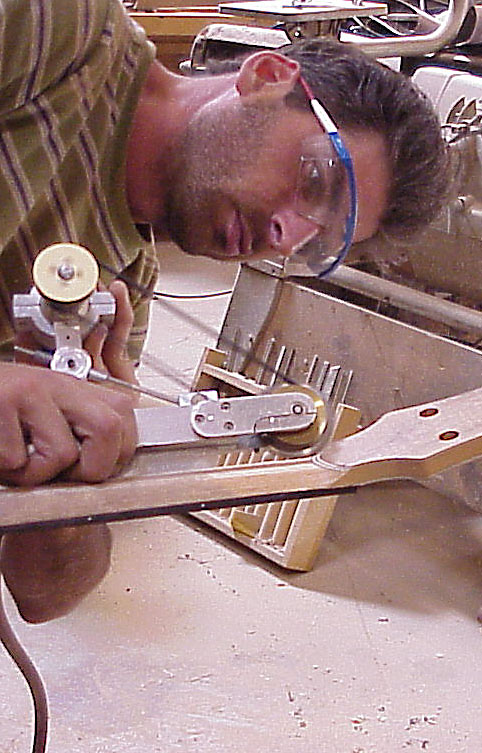
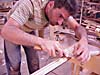
With his custom airtool "jaws" Mike shapes the neck and gets the rough
shape established.
11 SEP 2001
|
 |
|
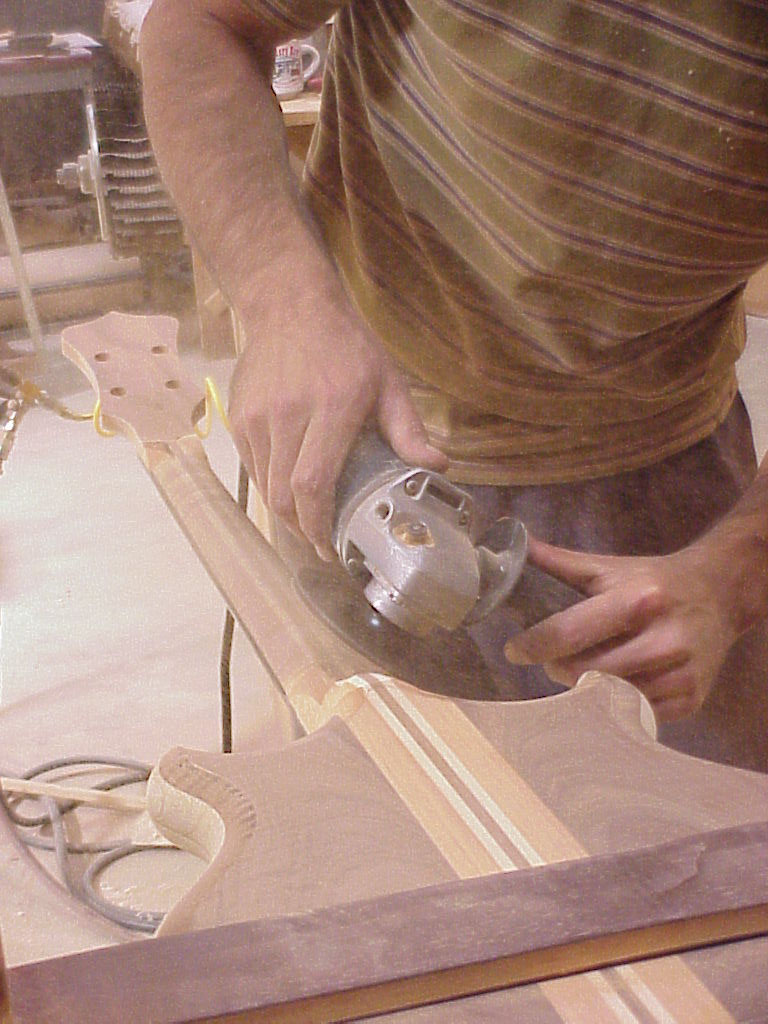
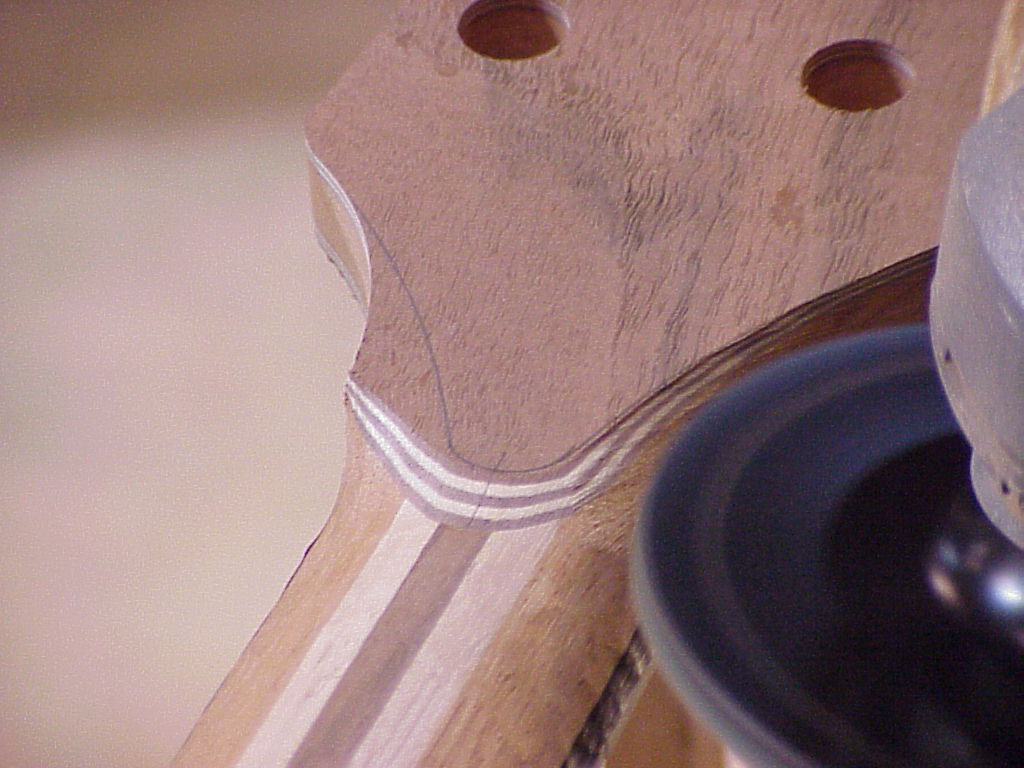
The final shape on the back of the peghead is traced based on a centerline. Time to grind!
11 SEP 2001
|
 |
|
Bringing in jaws in to chew more wood off the heel area.
11 SEP 2001
|
 |
|
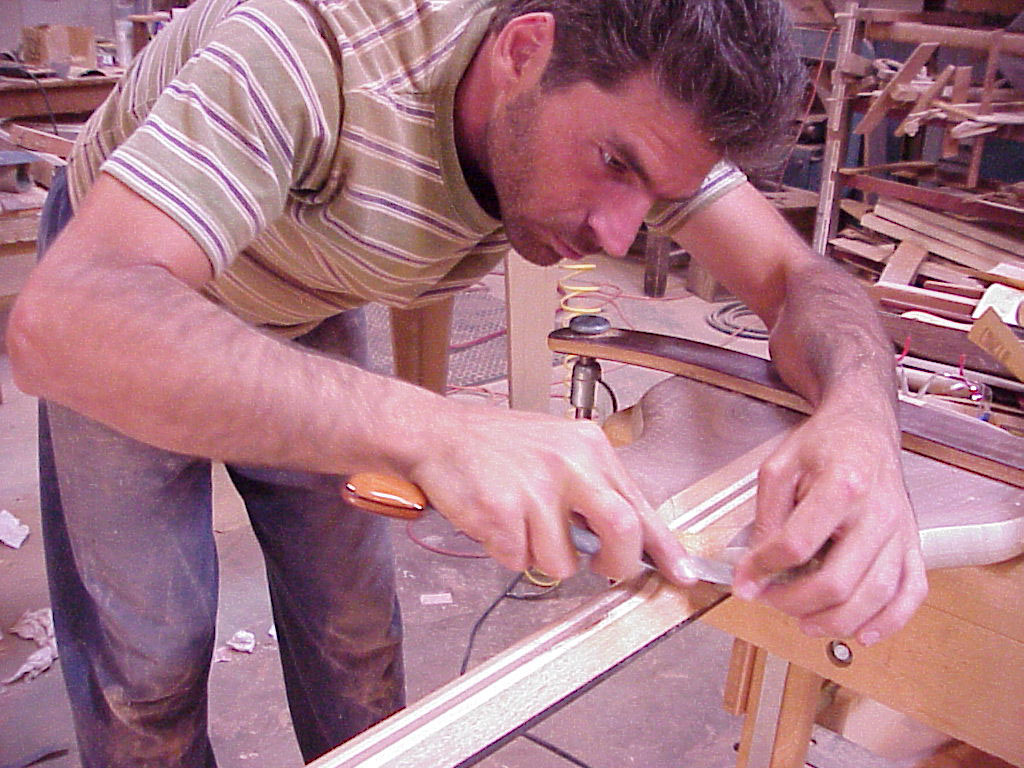
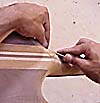
Here's the view the carver has when filing the heel.
11 SEP 2001
|
 |
|
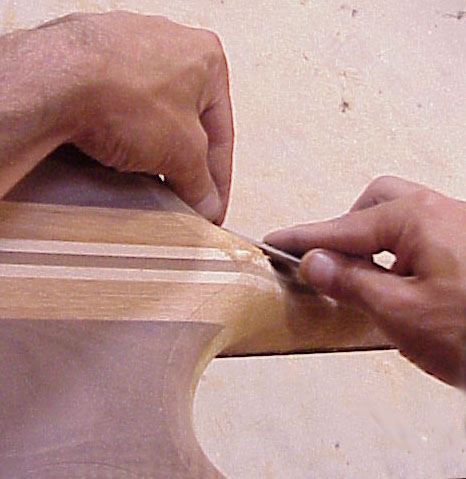
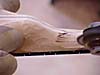
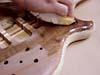
Filing the heel.
11 SEP 2001
|
 |
|
Held to the table with vacuum clamps and ready for routing.
15 SEP 2001
|
 |
|
Routing the neck pickup.
15 SEP 2001
|
 |
|
Routing the bridge pickup.
15 SEP 2001
|
 |
|
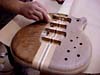
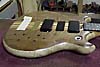
All routing complete, all carving complete, ready for finish.
15 SEP 2001
|
 |
|
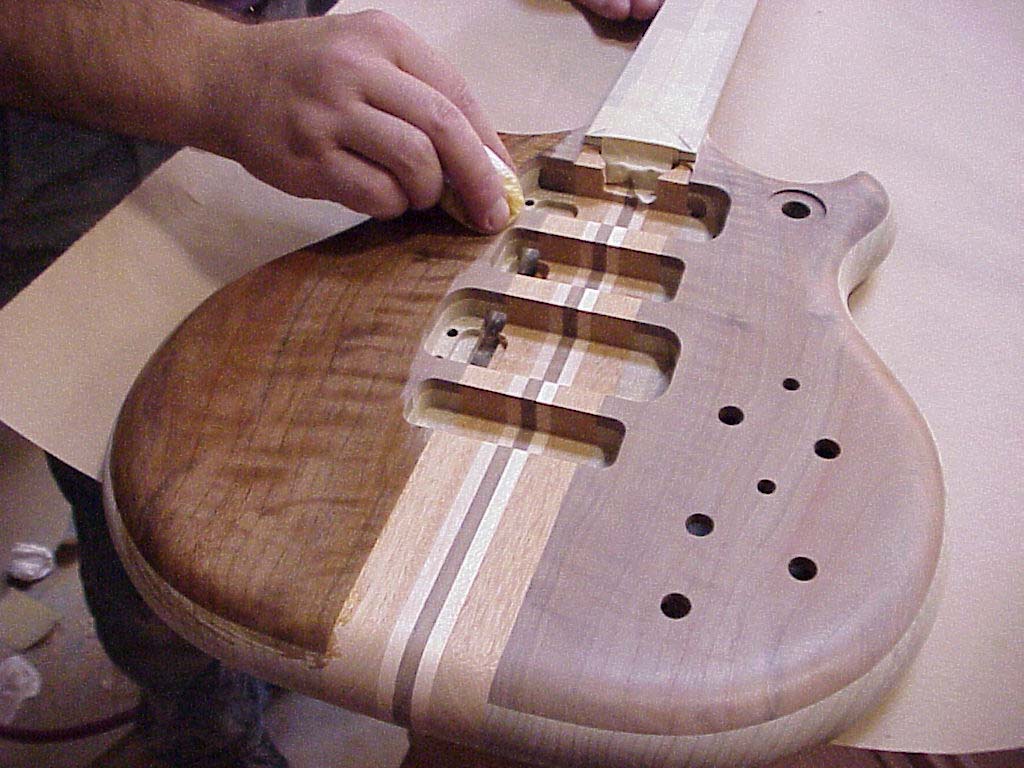
First application of oil.
15 SEP 2001
|
 |
|
Oil spread over upper body front.
15 SEP 2001
|
 |
|
Oiling the lower body half.
15 SEP 2001
|
 |
|
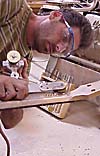
While sealer coats of oil set, we inlaid abalone ovals in the ebony fingerboard.
21 SEP 2001
|
 |
|
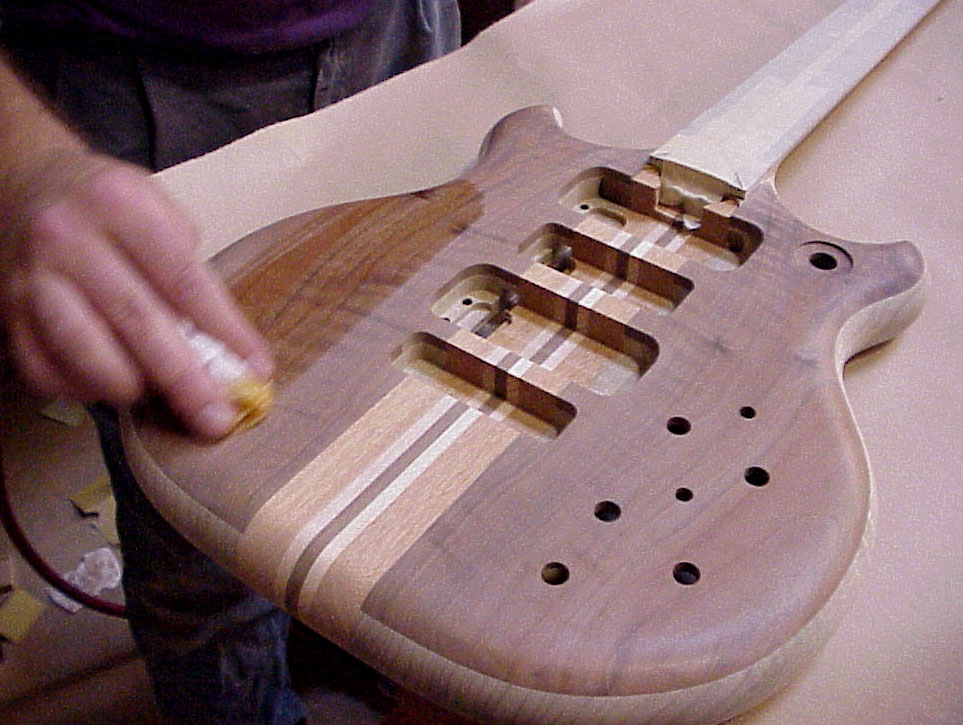
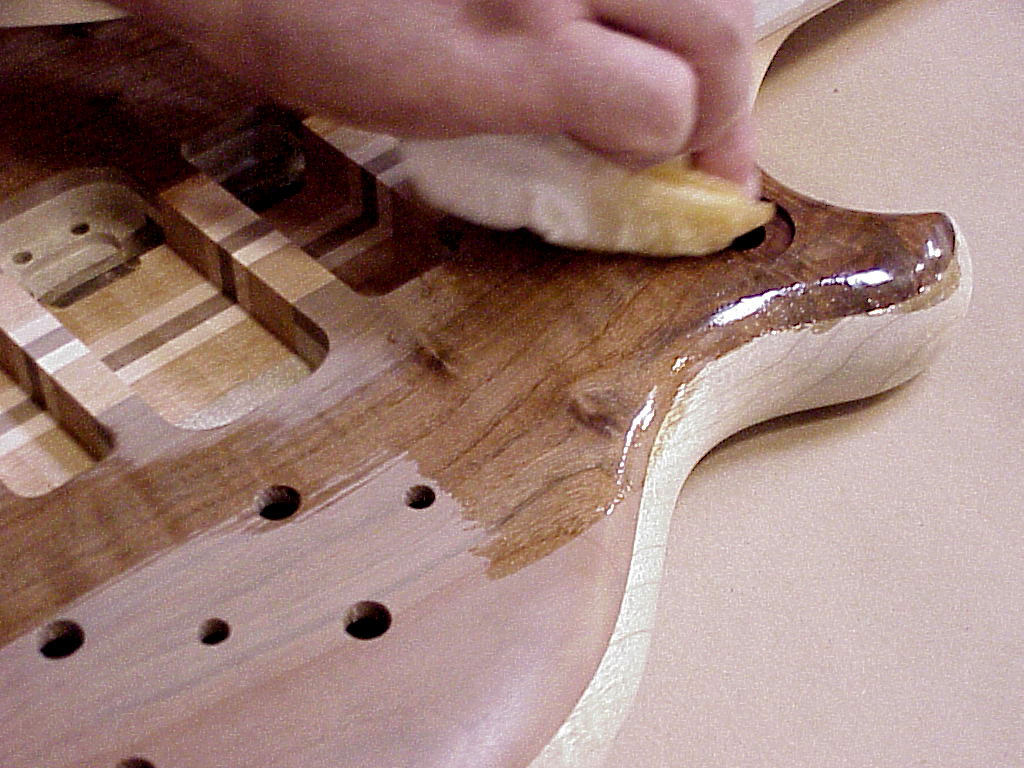
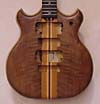
With about a third of the oiling completed, the rich brown color of the
California Walnut deepens.
21 SEP 2001
|
 |
|
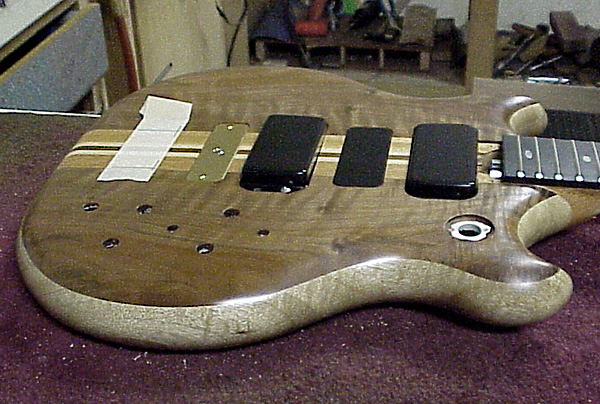
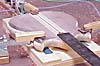
Now in setup. Tape is for marking tailpiece location.
25 SEP 2001
|
 |
|
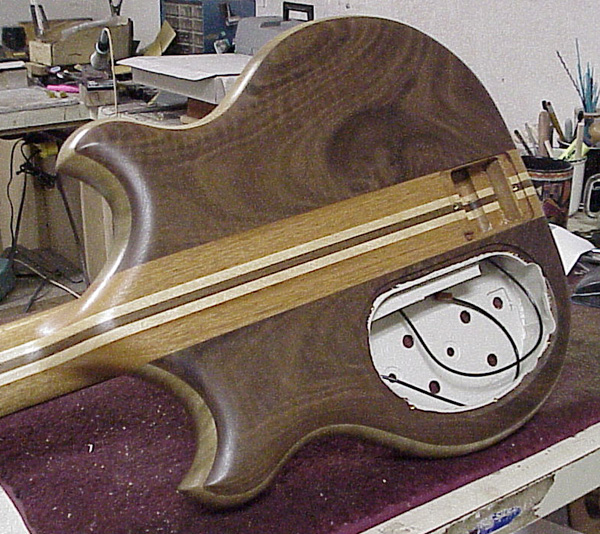
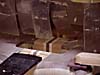
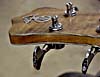
Silver shielding in main electronics cavity. Battery plate for possible future Series I electronics.
25 SEP 2001
|
 |
|
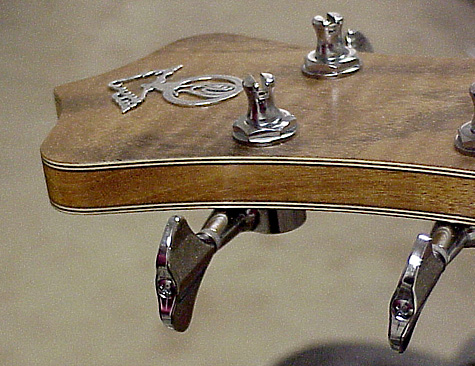
Side view of peghead.
25 SEP 2001
|